
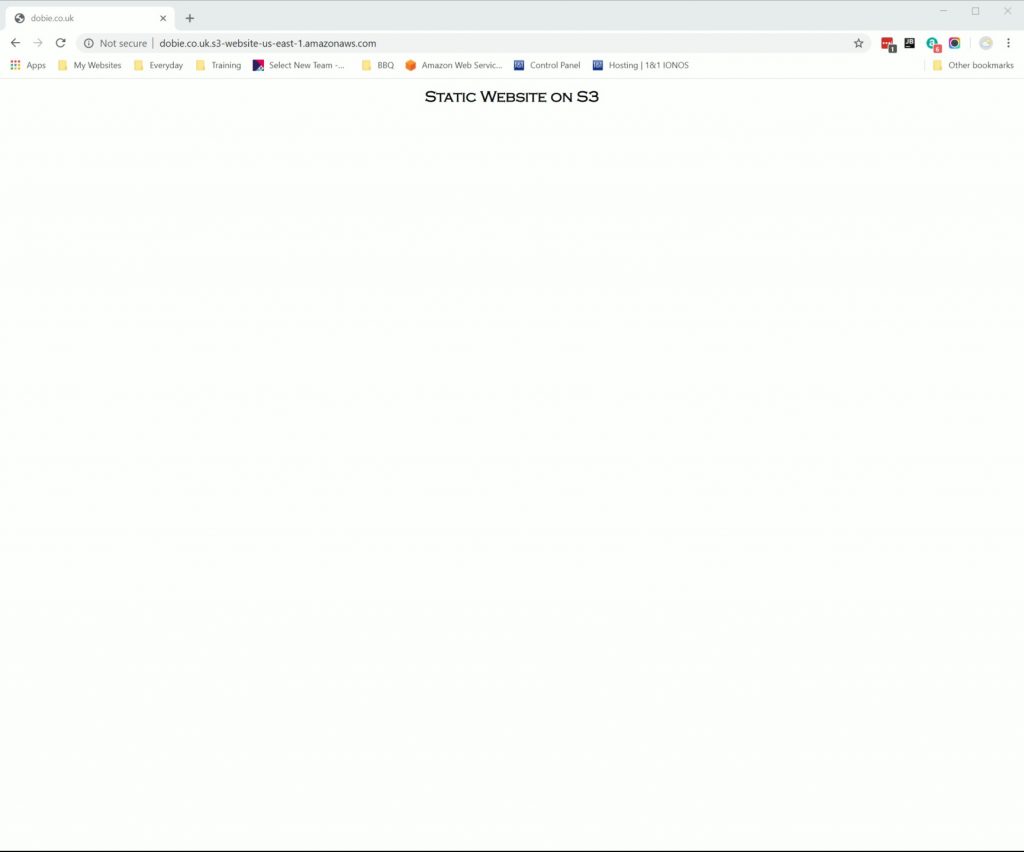
This post will show you how to use your custom 1&1 domain to point at an AWS static website hosted in an S3 bucket.
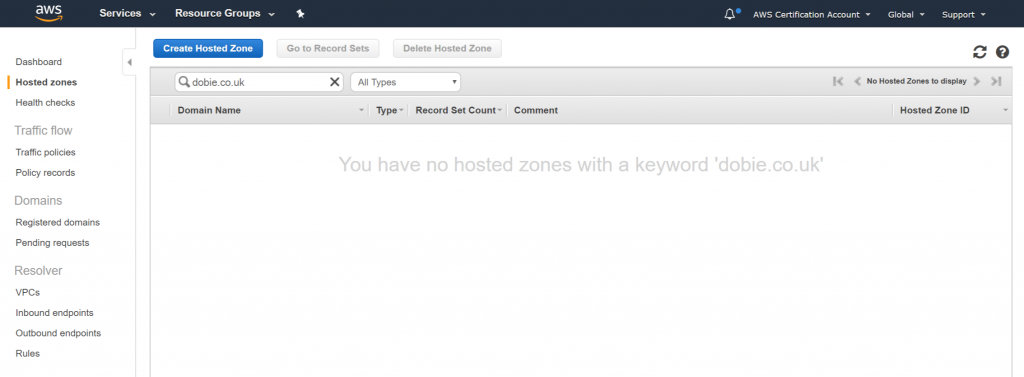
Open Route 53 in the Amazon console and click ‘Create Hosted Zone’.
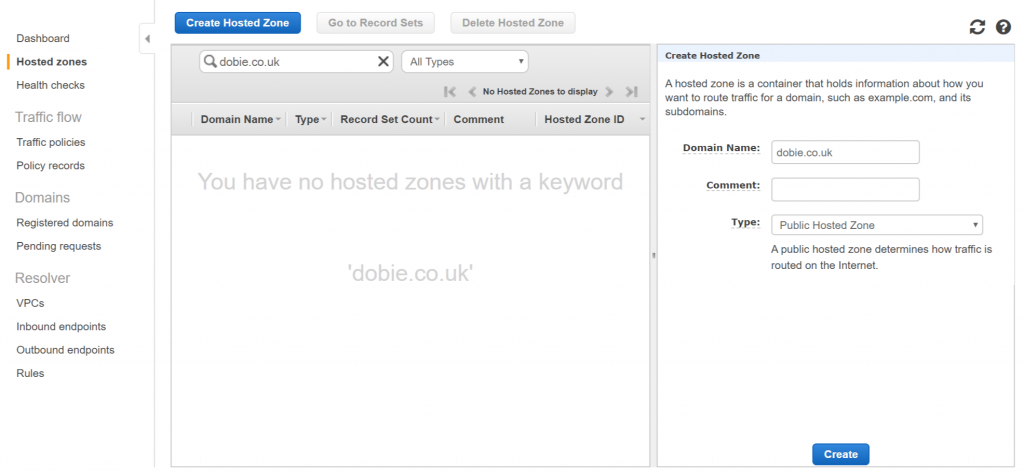
Type in the domain name which must be the same as the S3 bucket.
Click create record set and do the following
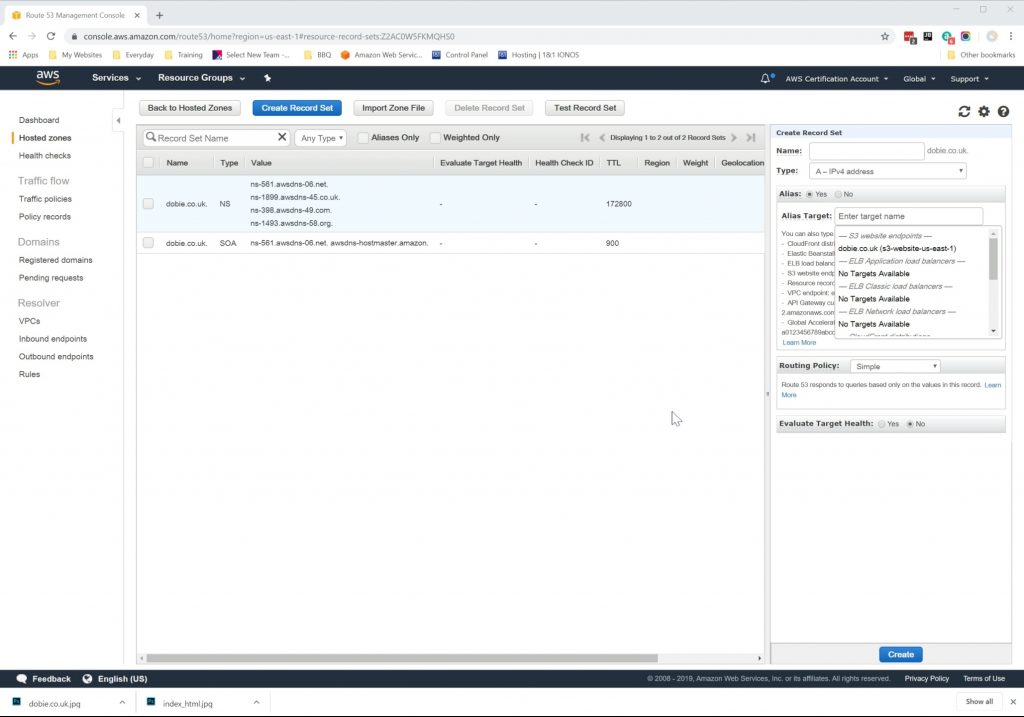
- Leave the name blank
- Create an A Record
- Click on Alias (Yes)
choose your S3 Bucket from the dropdown. - Click Create.
Copy the amazon nameserver settings from the NS Record.

Go to the 1&1 console for your domain and click Settings -> NameServer
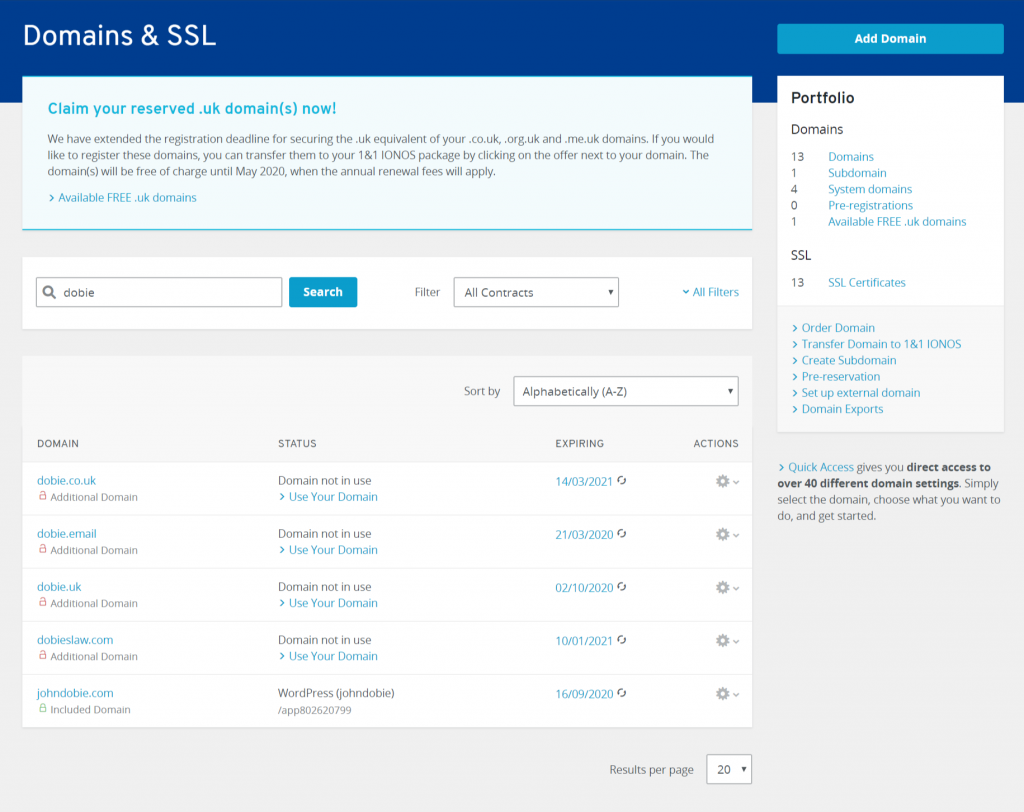
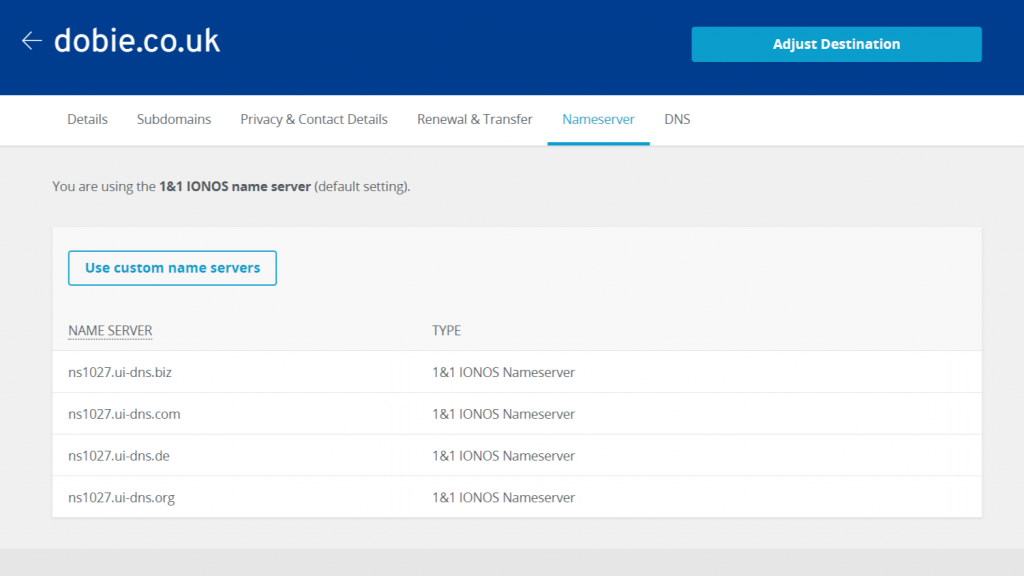
You will see the current nameserver settings. Click on Custom name servers and enter the details from the AWS console.
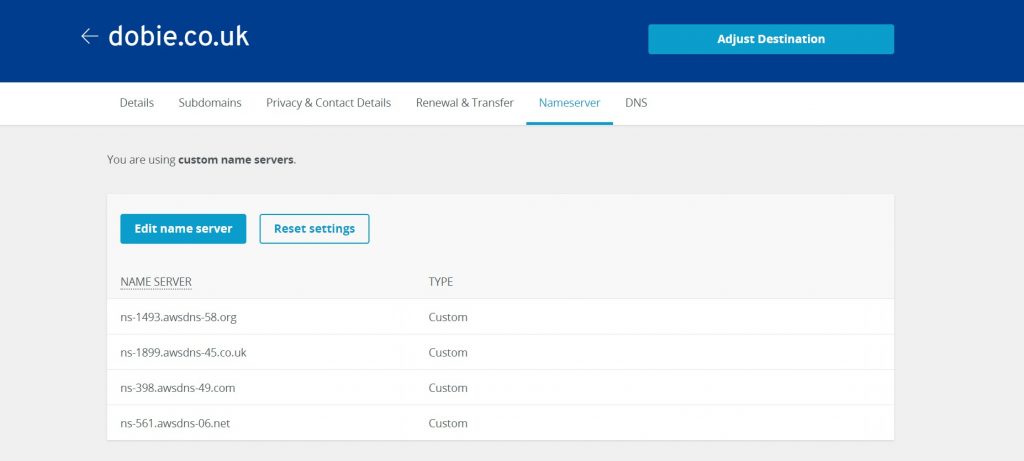
You might have to wait for a few minutes but your domain should now be connected.


Leave a Reply
You must be logged in to post a comment.